Quickneasysearch.com
Tutorial To Get Rid Of Quickneasysearch.com
Quickneasysearch.com errors which should also be noticed 0x00000031, 0x100000EA, 0x000000A0, 0x00000008, 0x0000001E, 0x8024200A WU_E_UH_CANREQUIREINPUT A request to the handler to install an update could not be completed because the update requires user input., 0x80244018 WU_E_PT_HTTP_STATUS_FORBIDDEN Same as HTTP status 403 - server understood the request, but declined to fulfill it., 0xf080D CBS_E_MANIFEST_INVALID_ITEM invalid attribute or element name encounteredSafely Delete Quickneasysearch.com From Infected PC
Quickneasysearch.com is a harmful program which is reported to infect number of PC. Like other PC infection, it also intrude silently in its targeted PC. It is difficult to detect its existence because the threat run all its malicious process in the background of PC. The first thing this threat do after invasion is to modify PC settings. Through this way it get the persistence to execute its malicious services freely. Most of the user don't know how this threat come in their PC because it comes via tricky ways like bundled with software, spam email, infected site etc. This nasty program not let you do any activity properly even you can't surf Internet properly. In addition, it is also reported for bringing other malware which badly damage the PC. Presence of this threat also put your privacy on risk. So if you don't want to suffer these issue then Delete Quickneasysearch.com now.

Method 1 : Start Your PC In Safe Mode With Networking
Method 2 : Removing Quickneasysearch.com From Control Panel
Method 3 : Removing Quickneasysearch.com From Registry Editor
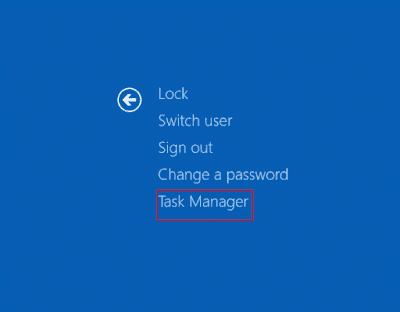
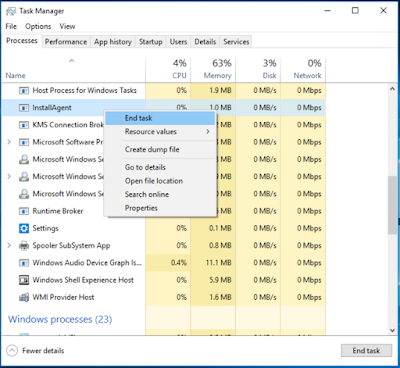
Method 4 : Block Related Process To Quickneasysearch.com From Task Manager
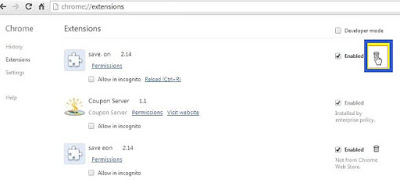
Method 5 : Removing Quickneasysearch.com From Chrome
Method 1 : Start Your PC In Safe Mode With Networking
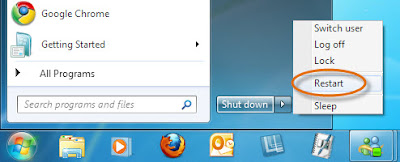
For Windows XP/Vista/7
- Open the 'Start' menu > click on 'Restart' option.
- Continue pressing 'F8' button when the PC start booting.

- It will open 'Advance boot menu' on the screen.
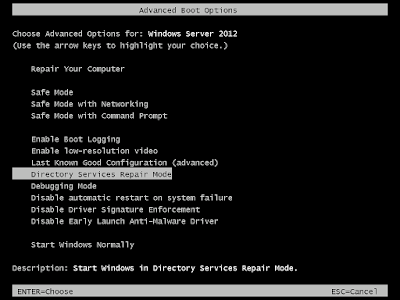
- Now choose 'Safe Mode With Networking' > press Enter.
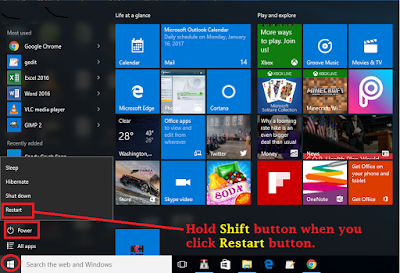
For Windows 8/10
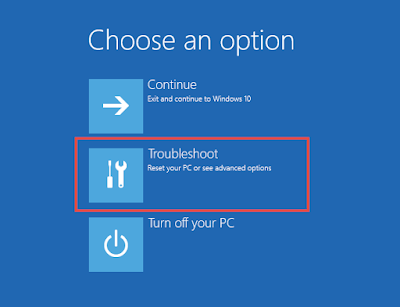
- Go to 'Start' menu and click on 'Restart' button by holding shift button.
- From the opened window, Select 'Troubleshoot' option.
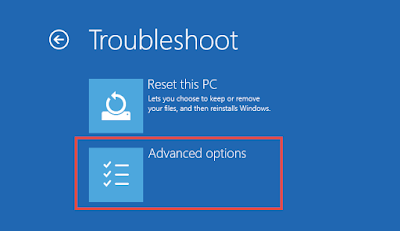
- After that click on 'Advanced' Options.
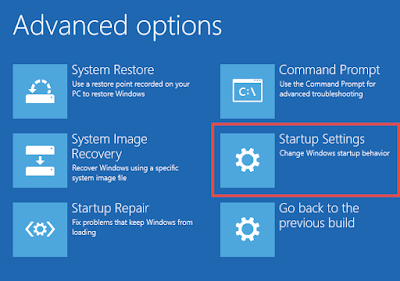
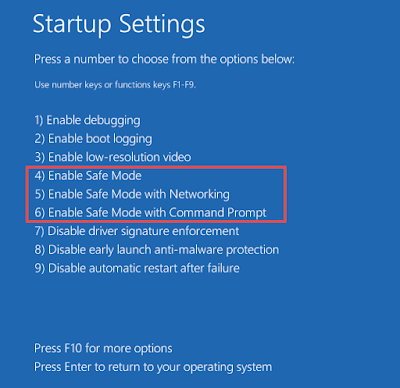
- Then Select the 'Start-up Settings' option.
- Choose 'Enable Safe Mode option' then click on Restart.
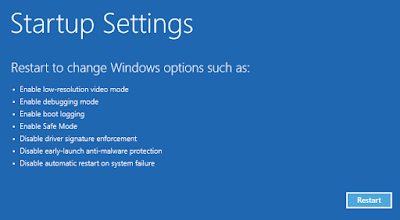
- Finally select 'Safe Mode With Networking'.
Method 2 : Removing Quickneasysearch.com From Control Panel
Delete Quickneasysearch.com From Windows XP
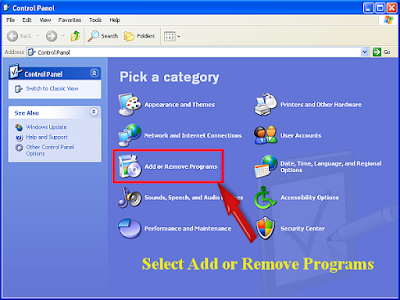
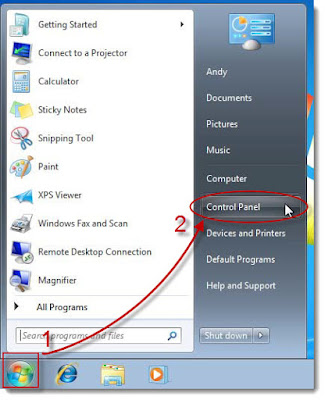
- From the start menu, click on 'control panel'.
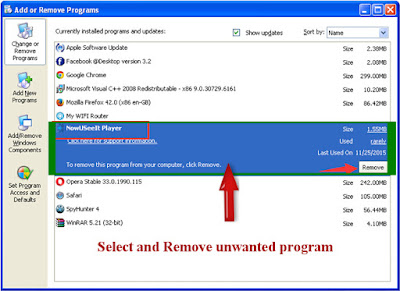
- Then go to Add or Remove programs option.
- Find out and Delete Quickneasysearch.com related program from PC.
Delete Quickneasysearch.com From Windows 7
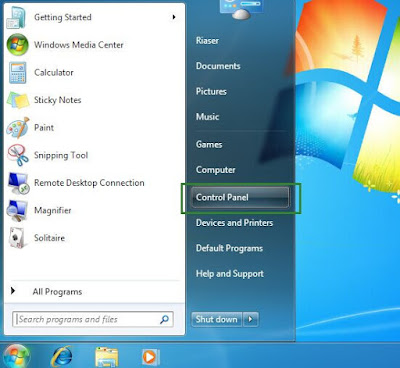
- First of all, press the 'Windows' button.

- Then select Control Panel from start menu.
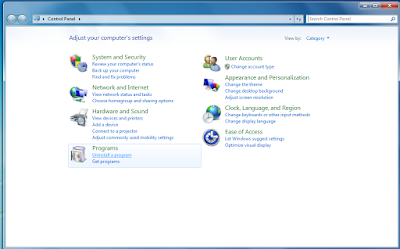
- From the program menu, select remove a programs option.
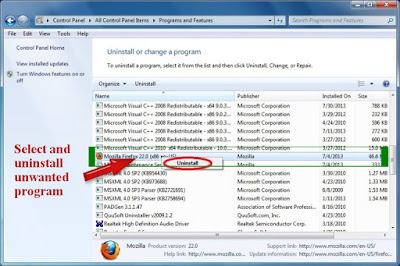
- Then select Quickneasysearch.com related program and remove them.
Delete Quickneasysearch.com From Windows 8
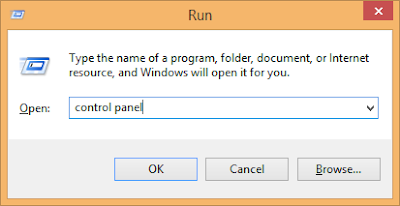
- Open the Run Box by pressing Win+R key together.

- In the Run box type 'control panel' and press Enter.
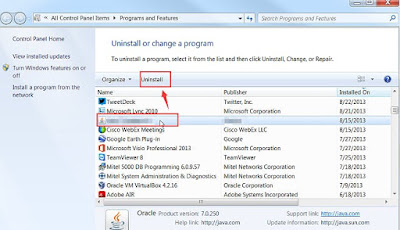
- Then Click on the uninstall a program option.
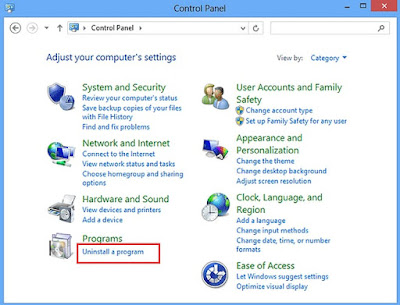
- Right-click on Quickneasysearch.com related, click on remove option.
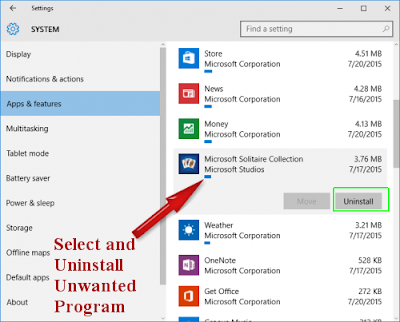
Delete Quickneasysearch.com From Windows 10
- From the start menu select the Settings option.
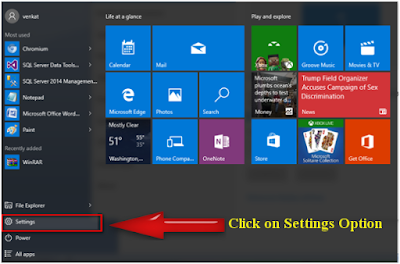
- Then you have to select system option.

- Then click on the Apps and Features option.
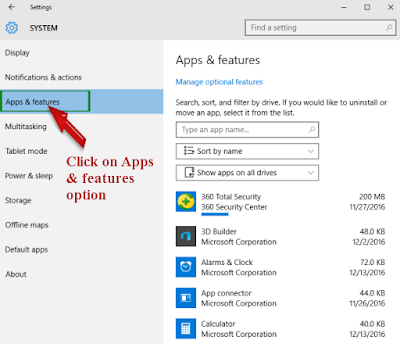
- Search for Quickneasysearch.com related program and Delete them.
Method 3 : Removing Quickneasysearch.com From Registry Editor
- You have to press Win + R keys together to open Run window.

- After that type 'regedit' in the box and click on OK.

- Find out Quickneasysearch.com related registry and Delete them.
HKEY_LOCAL_MACHINESYSTEMCurrentControlSetServicesWpm
HKEY_CURRENT_USERSoftwareMicrosoftInternet ExplorerMain 'Default_Page_URL'
HKEY_LOCAL_Machine\Software\Classes\Quickneasysearch.com
HKEY_CURRENT_USER\Software\Microsoft\Windows\CurrentVersion\Run '.exe'
HKCU\Software\Microsoft\Windows\CurrentVersion\Internet Settings\random
HKEY_LOCAL_MACHINE\SOFTWARE\Microsoft\Windows\CurrentVersion\run\random
HKEY_CURRENT_USER\Software\Microsoft\Windows\CurrentVersion\Internet Settings 'CertificateRevocation' = ’0

No comments:
Post a Comment